It’s been a while since I’ve had a chance to do any type of woodworking, though I’ve been meaning to upgrade my son’s bed as it seemed like the initial allure of a slide had worn off. At one point my wife wanted to setup a canopy for the bed since our son loves to make tents. It seemed like the perfect opportunity to build a quick addition on the bed to support either siding, or a sheet, effectively making the whole thing look like a little indoor play house.
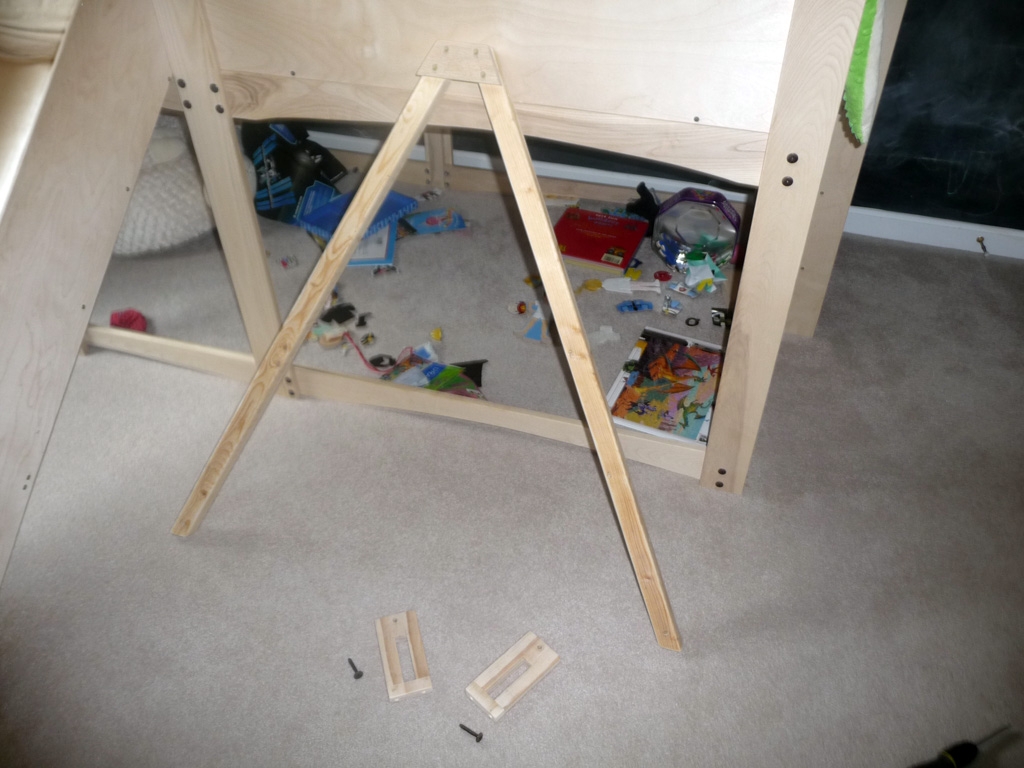
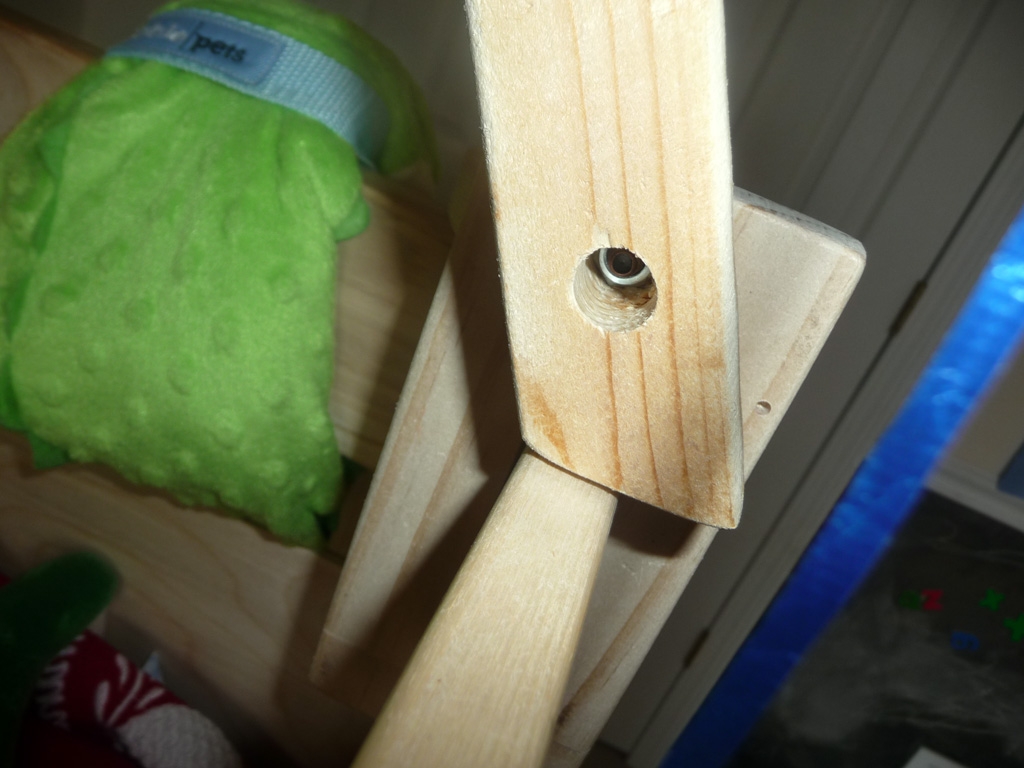
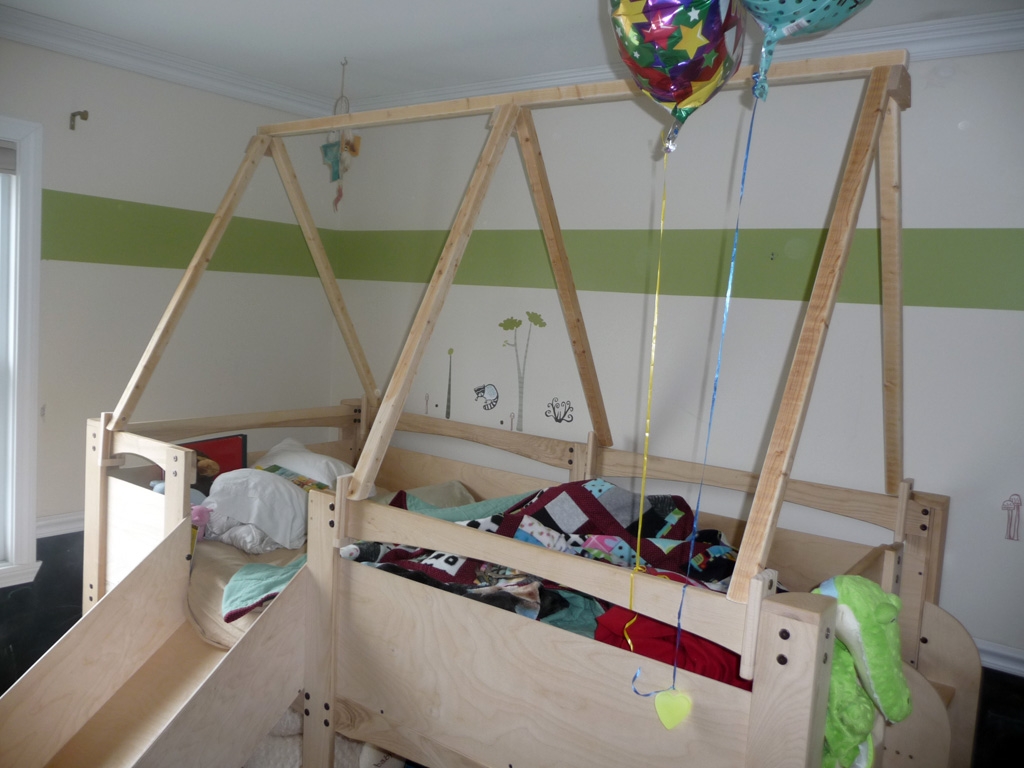
When designing the roof, I wanted the rafters to connect to clamping blocks such that I wouldn’t have to drill any additional holes in the bed. Effectively 3 members would clamp to the railing of the loft bed, and then a ridge board would tie the members together keeping them properly spaced. Each member would have 2 rafters tied together with collar ties. The rafters are bolted to the clamps with 1/4-20 furniture bolts and pocket nuts in the rafters. Once together everything ended up being quite rigid, and the kiddo could probably hang from it like a monkey if he wanted to ( though I won’t advise it ).
Photos of the Roof Upgrade:


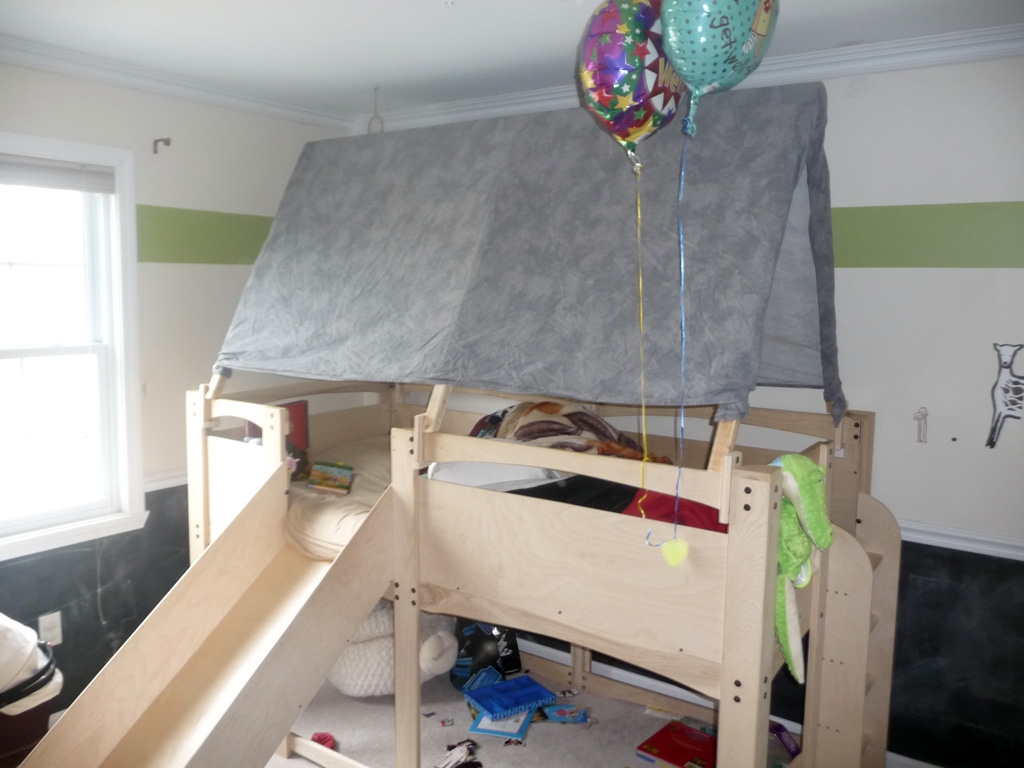
Once the roof’s frame was up the job was pretty much done. For my chicken coop’s design the roof used 1/4″ x 4″ x 8′ western cedar boards overlapped, which I think would look really nice as a roof for the bed ( probably would use ash or pine instead ). At the moment however I simply draped a bed sheet over the frame which produced the desired effect ( and the kiddo loves it ).
Cheers,
Morgan